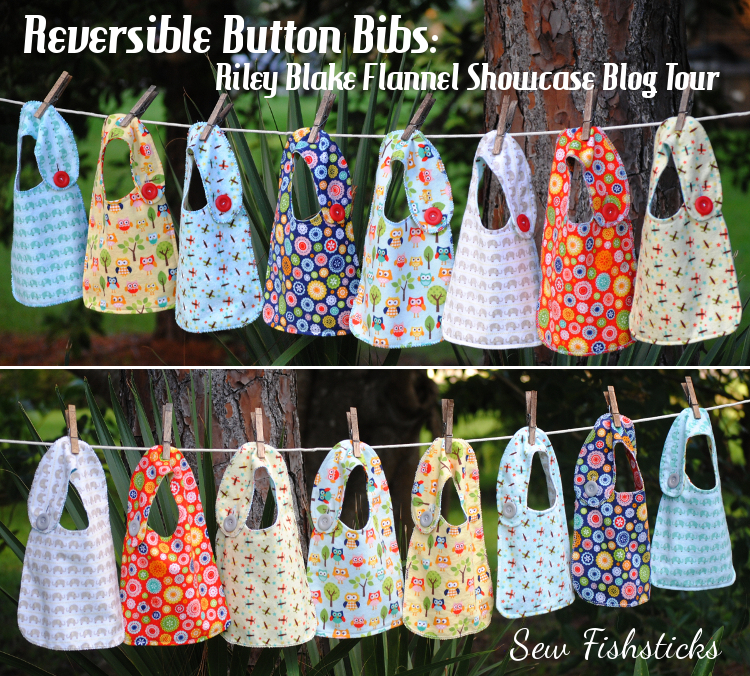
 I’m up on the Riley Blake Designs Flannel Showcase Blog Tour! Over the next few months, sewing bloggers will be featuring some of their favorite ways to use flannel fabric in handmades, all using Riley Blake’s great selection of cotton flannel fabrics. RB’s flannel fabric is a favorite here in our house because it has that wonderful soft brushed feel, and it stays that way wash after wash.
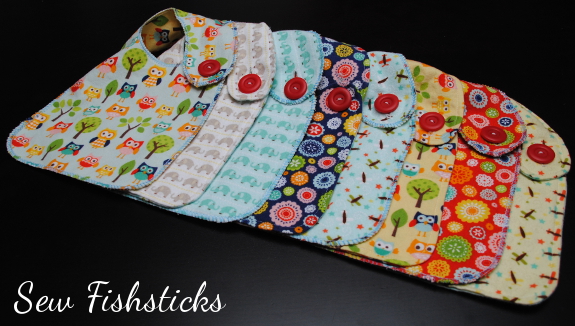 Because it’s 100% cotton and thicker than quilting cotton fabrics, flannel is not only soft, but it’s absorbent, too. That makes it a great choice for those sweet and darling but very drool-ly and spit-uppy babies! Anyone who has spent time with a newborn knows that a collection of absorbent drool bibs makes life much cleaner and drier. Thankfully, bibs are quick and simple to sew, so you can have a stack done in no time, and making them reversible for two looks in one is just as easy. I thought I’d take advantage of the blog tour and show you how!
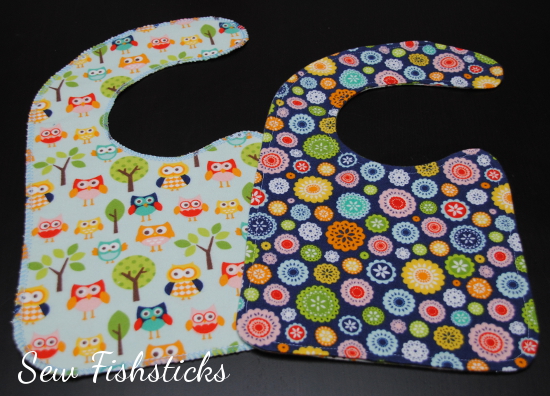
 We’re going to start with my free Bibs in All Sizes pattern. To download the pattern, just click here, scroll down to the red link at the bottom of the post and click again. Be sure to save the file to your computer before printing the pattern. In order to make these reversible, I replaced the waterproof backing with another layer of flannel. If you wanted to make these waterproof, though, you could hide a waterproof fabric inside. Follow the instructions for cutting out and assembling your bib, either sewing it with your machine or serging it. (I’m using the infant size here, but toddler, big kid and adult sizes are all included in the free pattern.)
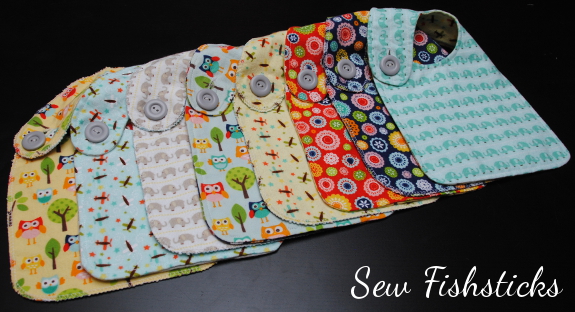
 From here, we’ll be adding buttons for fastening rather than the snaps called for in the pattern. For these bibs, I used Riley Blake’s Matte Finish Buttons in Gray and Red.
Measure in from the end of the snap strap ½” on the Infant Size (1″- Toddler, 1 ½”- Big Kid Bib) and mark the center point. This will be the beginning of your button hole. Draw a vertical straight line 1/4″ longer than the width of your button to mark your button hole. Stitch your button hole. (Refer to your machine’s manual for using your automatic button hole attachment.)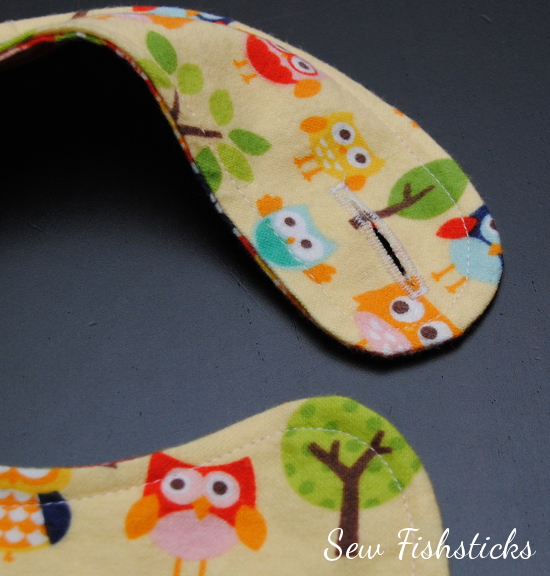 We’re going to sew two buttons back to back so that each side has it’s own button. When you do this, you have to add some space between the buttons to keep them from being too tight. (If you just sewed them back to back without some wiggle room, you wouldn’t be able to pull the buttons through the button hole.) If you have a chopstick (or what I often refer to as a corner-poker-outer) handy, that will work beautifully! Place the chopstick on the front side of the bib, centered on the little hump where you’ll be sewing your buttons.
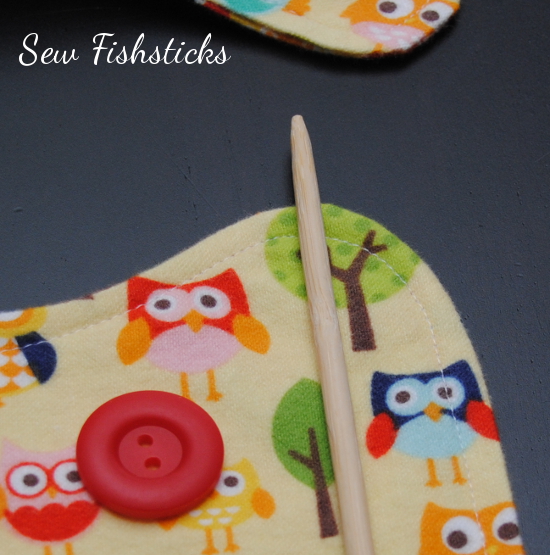 Place the first button on top of the chopstick, just below your topstitching or serger threads. Grab your hand needle and thread, and thread the needle, pulling the thread ends through so that you’ll be stitching with two thread lengths at once. Tie a generously-sized knot in the end of your thread. Pull the thread through from the back into one hole in the button, out the opposite hole and back through to the back of the bib. Be sure that your knot is snug against the back of the bib.
 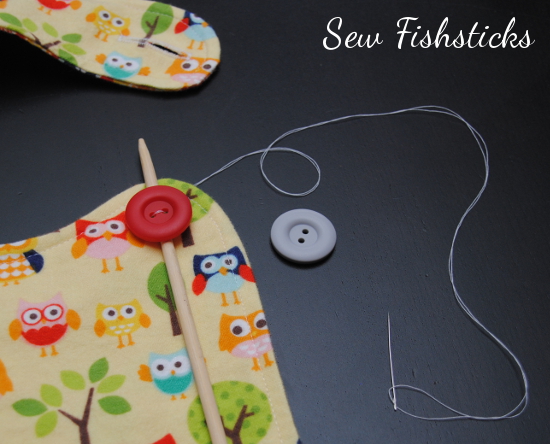 Slide your second button onto the needle and pull it all the way down against the back of the bib, lining it up behind your first button. Poke the needle through the opposite hole in the back button and through the matching hole on the front button.
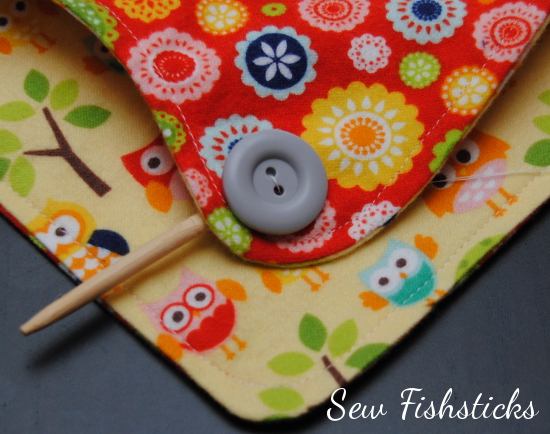 Continue stitching through the two buttons with the chopstick between until your button is well secured. (An important safety note: These buttons must be attached securely and firmly. Be sure to check them regularly. Never ever leave a baby or child alone or sleeping while wearing a bib.)
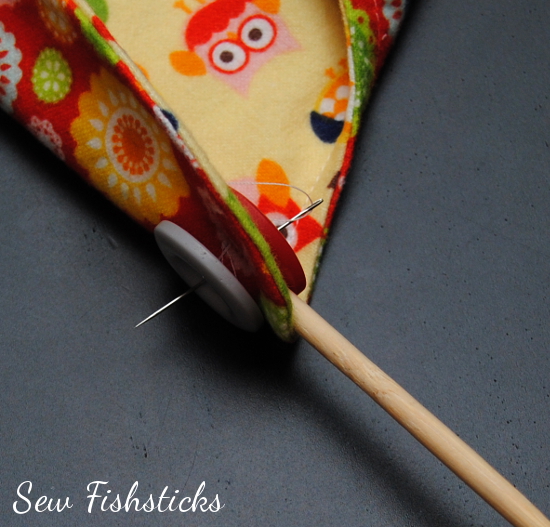 Pull out the chopstick and slide the needle under the threads in the back. Tie a knot around these threads and knot again several times. Trim away the extra thread.
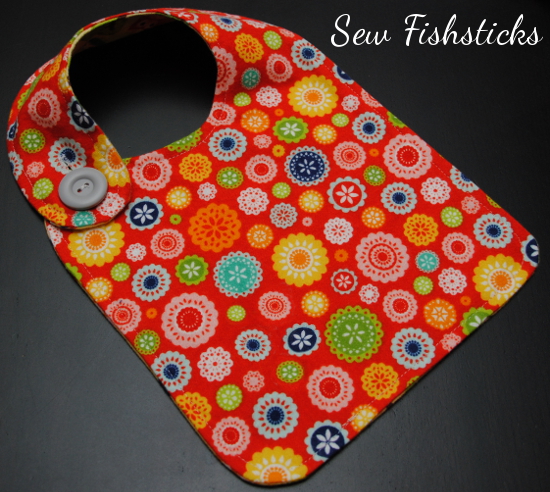
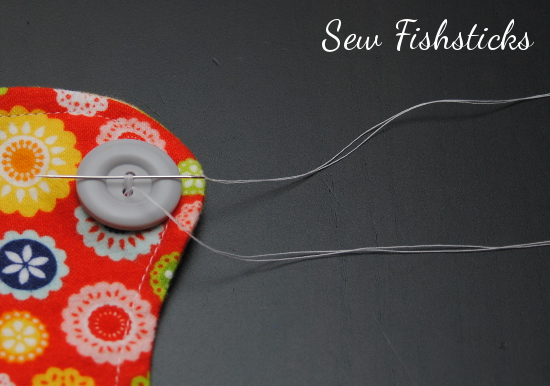 Button your bib on the front side ….
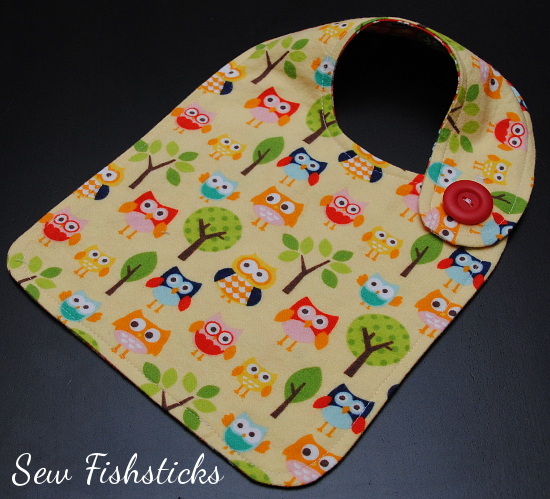 …or flip it over and button it on the other side!
9/9 Quiltscapes
9/12 Fishsticks Designs
9/23 Sassy Quilter
9/26 Simple Simon & Co.
9/30 Fabric Mutt
10/3 Just Let Me Quilt
10/7 Jedi Craft Girl
10/10 Rose and Odin
10/14 Sew We Quilt
10/17 Haberdashery Fun
10/21 Leigh Laurel Studios
10/24 The Cottage Mama
10/28 Flannel Queen
10/31 Lucy Blaire


LOVE THESE PRINTS!
I love that they are reversible.
Now this is what I call a party of colour and bibs..well done..certainly diff’t from bibs of yesterday…so darn modern
Now this is what I call a party of colour and bibs..well done..certainly diff’t from bibs of yesterday…so darn modern
These are adorable and with a new grandbaby coming next year, I’ll be making some of these. So cute! Thanks for the pattern!
The bibs are very lovely add to that it is reversible. I appreciate the tutorial, it’s simple and very clea not to mention the tools to make the bib which just be found at home.
These are adorable.
These bibs are just perfect! Thank you for the tip on stitching a shank for the button! I can see making tons of these little cuties. Now, I just need grandbabies!
Now if that array doesn’t inspire one to sew bibs, nothing will. 🙂 So cute and fun. Thanks for sharing.
I HIGHLY recommend you use velcro. not a button for safer quick release if the bib needs to be removed.