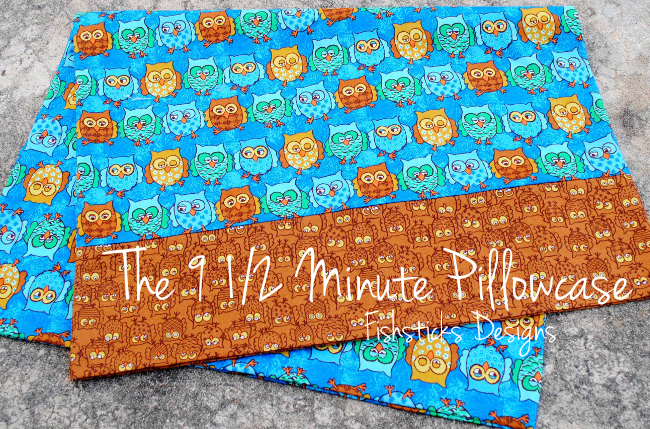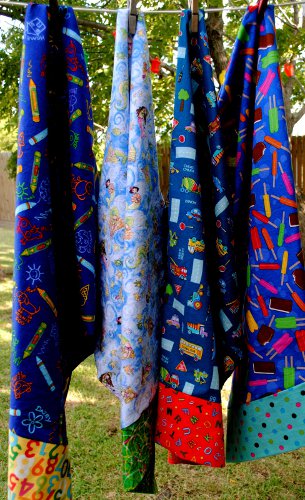
In 40 days, I’ll be *gulp* 40 years old! I was checking out the Crafthope blog a few days ago and discovered that they’re participating in ConKerr Cancer’s Miles of Pillowcase Smiles project. ConKerr Cancer organizes sewists around the country who sew bright and cheery handmade pillowcases for children who are seriously ill. It just so happens that the deadline for this project is September 15th–my 40th birthday. So, I’ve set a goal for myself to sew 40 pillowcases for ConKerr Cancer in the next 40 days.

I finished up my first four pillowcases today. They were so quick and easy! I’m sure there are zillions of tutorials online for pillowcases, but I thought I’d put together one to show my method. I timed myself to see exactly how long one pillowcase takes. Including cutting out the fabric, the total time was 9 1/2 minutes! You do need a serger to use this tutorial. (If you don’t have a serger, check out the ConKerr Cancer website for a tutorial using your sewing machine.) Just click for The 9 1/2 Minute Pillowcase Tutorial.

If one pillowcase only takes 9 1/2 minutes, surely you have time to sew up one or two, too! If you do, I’d love to see them!


This is so fabulous! You’re an inspiration to us. Can we post a link to your post on Craft Hope? Thanks!
What a great goal! Your first four pillow cases look great.
This is so awesome B! I love love love the fabrics you’re using! They’re so bright and cheerful-totally perfect! You’re going to help make some special kids really happy
This is fantastic! You’re doing such a wonderful thing. Too bad I don’t know what a serger is!!
That is such an awesome thing to do Bonnie! I just saw something about you doing this on Craft Hope (Craft is before Fishsticks in my reader) and now I get to see all of your pictures! Thanks for inspiring so many!
Thanks for all the great stuff on your website and for the good work you do. I am a sewist for ConKerr Cancer as well, and I have been using a method that takes about another 45 seconds but has a clean-finished pillowcase border. With the way I have been serging the pillowcases, you don’t have to use a sewing machine to tack down the loose threads and you don’t have a seam that shows or could rub on sensitive faces.
I start the way you describe in your great tutorial, but I chain-sew the case and the border side seams in one step. Then, I turn the border like you do, right-side out, and then fit one inside the other, matching the side seam. No pins are needed, and you just serge the border on to the case, serge the bottom seam, and you have a finished case with a clean-finished border and no serger tails to tack down. I do use a dot of fray-preventer on the two bottom corners, because the children take their pillowcases home and I want them to hold up to lots of play and laundering.
One more way to get lots of cases made— I keep a “kit” or two handy (matching border and case pre-cut fabrics) and when friends or family stop by, I offer for them to make one and they are delighted to spend five minutes on the serging and produce a “case for smiles” and feel like they have made a contribution to a great cause.