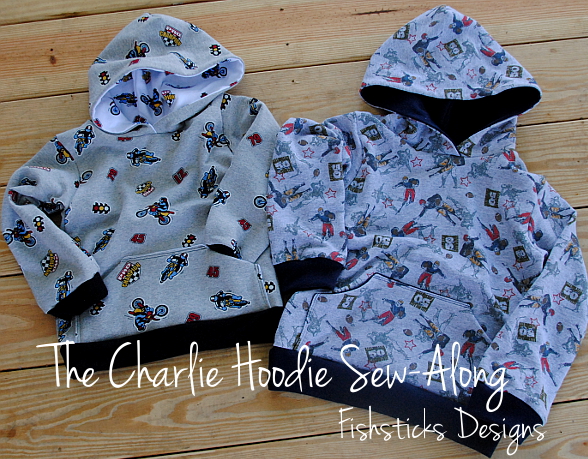
 Welcome to Day 1 of the Charlie Hoodie Sew-Along! If you followed along with the Charlie Tee Sew-Along at Pattern Revolution last week, I hope you finished a shirt and learned a few things along the way! If you didn’t, you can go back and sew-along anytime you’d like. This week, we’ll be using the same Charlie Tee & Hoodie pattern to sew a hoodie!
I generally recommend that if you’re going to use the hoodie as outerwear, you go up one size from the size your child normally wears in ready-to-wear clothing. This will give you enough ease all over to layer the hoodie comfortably. Charlie wears a size 4 right now, so I’m sewing him a hoodie cut from the size 5 pattern.
This hoodie works perfectly in any knit fabric from lightweight jerseys (perfect for cool summer evenings up north or winters in Florida) to cotton sweatshirt fleece or heavier polyester fleece (just right for crisp fall or spring days). I’m using sweatshirt fleece as the main fabric in the sample motorcycle hoodie for Charlie, and I used cotton french terry in a football print for Jamie’s hoodie. (I found both fabrics at Kinder Fabrics on Hyena Cart. The owner, Nan, was great to work with, and she shipped super fast!) The hood inners, pocket backs and sleeve- and waist-bands are all cotton interlock.
If you’re working with a pdf version of the pattern, you’re going to start by printing and assembling your pattern. There are detailed instructions for how to do that right here: Assembling Fishsticks Designs PDF Patterns. Once you have your pattern ready and your fabric washed and dried, you’ll need to get your pieces cut. You’ll have 12 total pieces: one front, one back, two sleeves, one hood outer, one hood inner, two pocket pieces, two sleeve bands and two waistband pieces. Be sure to cut your front and back pieces 3 1/2″ shorter than the pattern piece to allow for the addition of the waistband.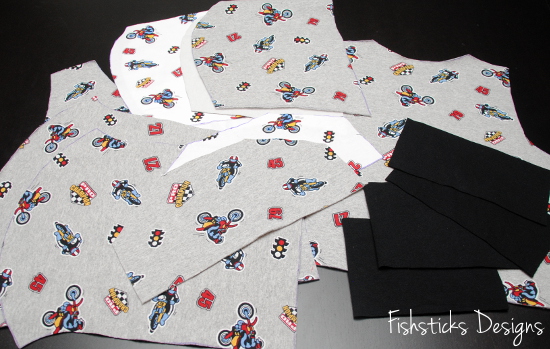 Today, we’re going to assemble and attach the pocket, so grab those two pocket pieces.
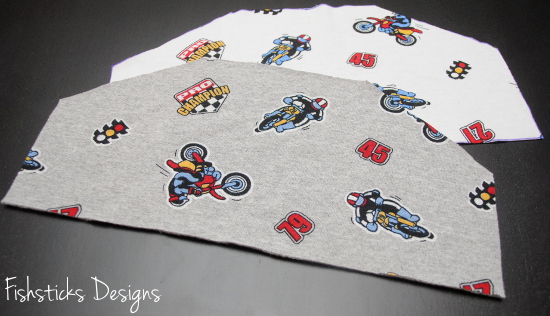 Place your two pocket pieces right sides together and sew around all but the long straight edge on the bottom. I prefer to sew these two pieces, rather than serging them because you get sharper corners. When sewing knits, I use a walking foot, a ballpoint needle and stretchy nylon serger thread (like Woolly Nylon) in my bobbin. (You can find more details about why I use those things on the first page of last week’s sew-along: CT Sew-Along Day 1.)
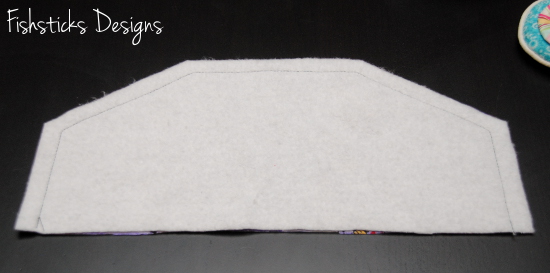 Clip the extra fabric away from those corners.
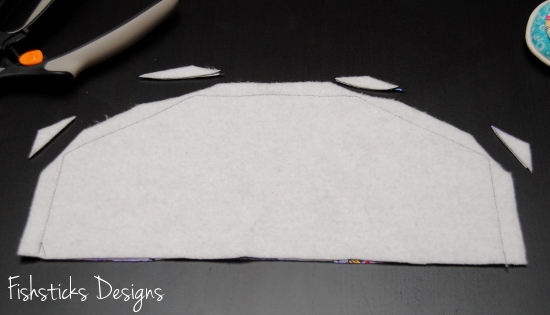 Turn the pocket through the open side and push those corners out neatly. I use a clean wooden chopstick to do that. Press the pocket well.
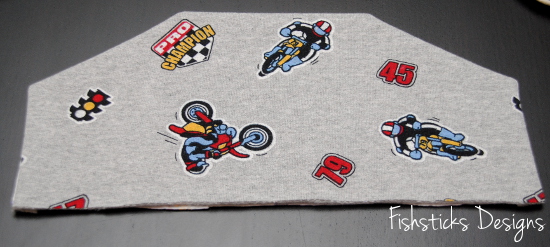 Center the pocket along the bottom edge of the front body piece, aligning the raw bottom edge of the pocket with the bottom edge of the front. Topstitch the pocket in place along the two straight sides and the top. Do not stitch the angled edges. Those are the pocket openings. You’ll leave the bottom of the pocket raw to be closed up later when you add the waistband.
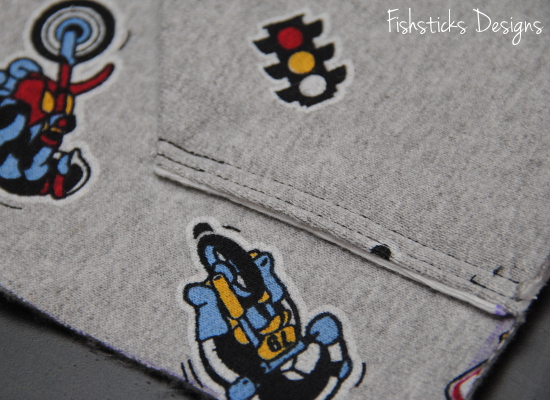
 On this pocket, I sewed two lines of stitching rather than one. One line of stitching works well, just be sure to back-stitch and forward-stitch at the pocket openings to reinforce the stitching. My double line of stitching adds a little more reinforcement, and when you use a contrasting thread, it adds a nice decorative detail.
 We’ll stop there today and pick up tomorrow with sewing and attaching the hood!

