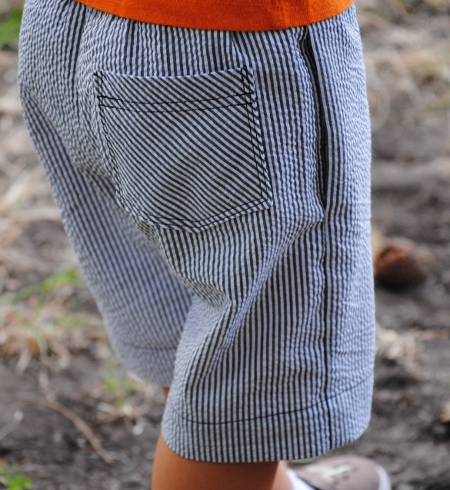
Ready to add a back pocket to your Mud Puddle Splashers? Go print the pattern to get started: MPS Back Pocket. (Be sure not to select sizing options such as “Fit to Page”. However, you should check the box next to “Rotate and Center”.)
First, a little aside from the basic tutorial: When I’m sewing with a stripe or a plaid, I like to turn the fabric and cut the pockets on the bias for a little added interest. If you’d like to do that, first find the line on your sewing ruler that says 45. (My ruler is upside down in this picture so the “45” is backwards, but you get the idea.) Place that line on one of the straight lines of your fabric so that your ruler is now turned at a 45 degree angle.
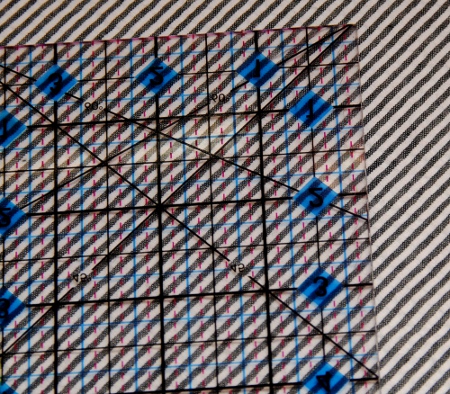
Line the edge of your pattern up along the edge of your ruler, or if you’re not cutting on the bias, just place the pattern on your fabric. (The bottom half of the pattern will be the outside of your pocket, in case you want to center a design on the pocket.)

Trace the pattern.
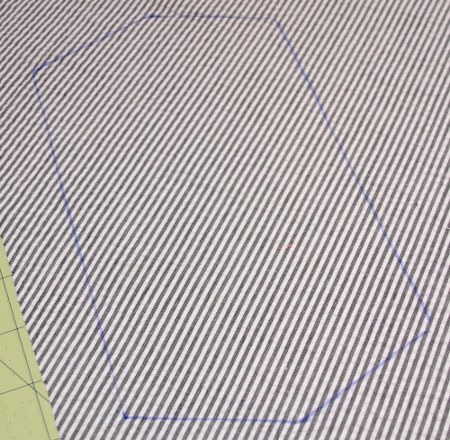
Cut out your pocket.
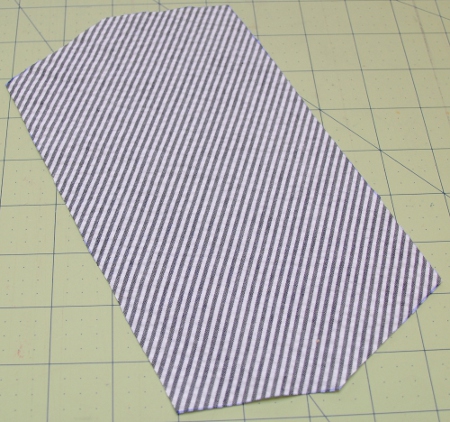
Fold the pocket piece over, matching up the points. Pin. Sew around the two sides and bottom, leaving a 1 1/2″ opening in one side for turning. Trim the fabric at the corners and at the point.
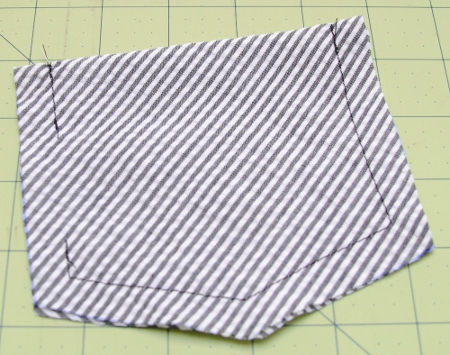
Turn the pocket through the opening. Push out all the corners and the point neatly. (A clean chopstick works well for pushing out corners.) Tuck the edges of the opening in. Press well.
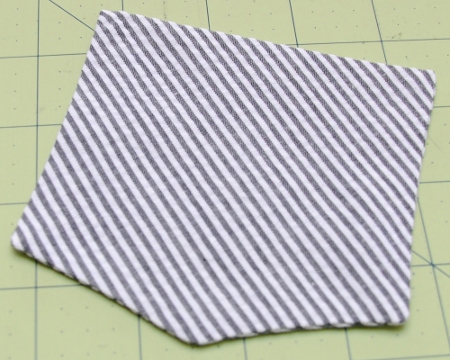
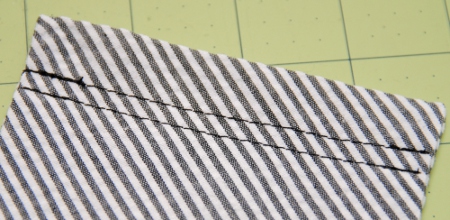
Topstitch the top edge of your pocket, once at 5/8″, then once 1/8″ to 1/4″ below the first line of stitching.
Center the pocket on the Back Body/Leg piece. If you’re only going to do one pocket, it is traditionally placed on the right-hand side. Pin the pocket 4 1/4″ below the waist for sizes 2T-4T, 4 1/2″ below the waist for sizes 5 to 6/7, and 4 3/4″ for size 8. The pocket is going to look like it’s really low. It’s fine, I promise!
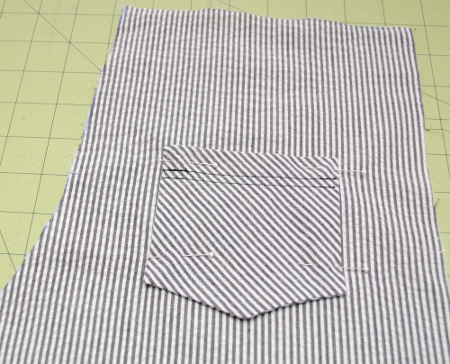
Topstitch the pocket in place 1/8″ from the edge on the sides and bottom. Sew a second line of stitching 1/8″ to 1/4″ inside the first.
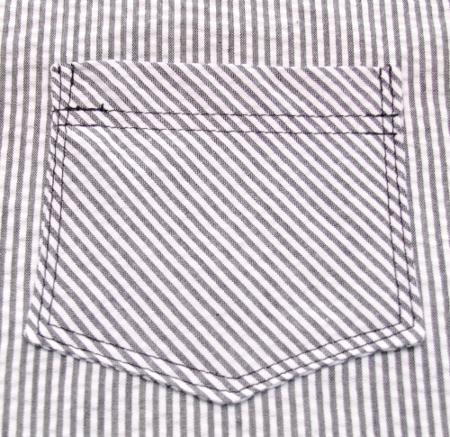
Follow the Mud Puddle Splashers instructions to complete your shorts.

See! That was easy, right? (If you’ve landed here and don’t know what the Mud Puddle Splashers are, just click over to this post right here: Mud Puddle Splashers Free PDF.)


Love what this adds! Thanks Bonnie! 🙂
Adorable! Thank you for the great tutorial!
Thank you!!
Yay! Perfect finishing touch and the more pockets the better! Thank you!
Love the shorts!!
Got the pocket, but no matter where I click, I don’t get the pattern for the shorts! They are so cute, don’t want to miss them.
Thanks,
Dee
It’s the small picture of her boys at the bottom of the July 10th entry. It’s a great pattern, my boy and girls love their shorts!
Hi, Dee! So sorry that I’m late in responding! If you click over to this post: http://hemmein.com/little-boys-shorts-at-hopeful-threads-and-the-free-mud-puddle-splashers-pdf-pattern/ and scroll all the way to the bottom, you’ll find a small picture of my boys. It’s the picture with the rounded corners that says “Mud Puddle Splashers” on it. Just click on that photo, and you’ll be taken straight to the pdf. From there, you can either print it or save it to your computer. Thanks!
Really enjoyed putting together shorts for Hopeful Threads this month and using all the “bells and whistles” your MPS have to offer!
Love this pocket and the shorts pattern. I’m working on a pair and am almost done.
just loved your creativity. 🙂