 Our second set of handmade ornaments for the tree this year are these very simple felt trees with pompom decorations. This is an easy afternoon or evening project! You can choose to do the cutting and stitching before having your kids decorate (I did that part during naptime and had the pompoms and glue ready to go as soon as they were up), or you can have your older children do the tracing, cutting and sewing, too!
Here’s what you need: the Christmas Tree Template, two sheets of craft felt for each four ornaments, ribbon, white (or tacky) glue, pompoms and a sewing machine. (If you have time, you could actually stitch these by hand for a more handmade look!)
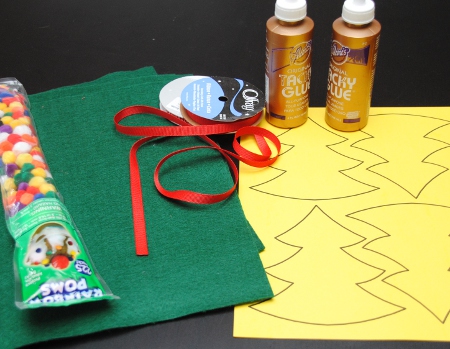 Start by cutting out one tree template. (The other three are on the printout so that you can see the best layout for your felt.) Trace your template four times.
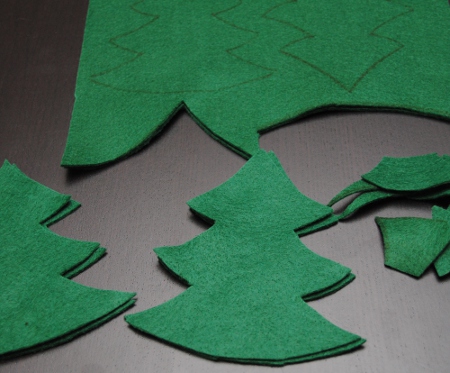
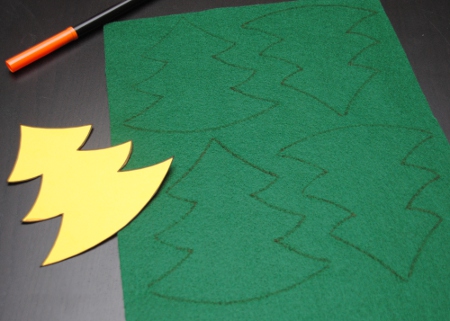 Stack a second piece of felt under the first and cut out four trees. Each tree will consist of two felt layers.
 Cut a 10″ long piece of ribbon for each tree.
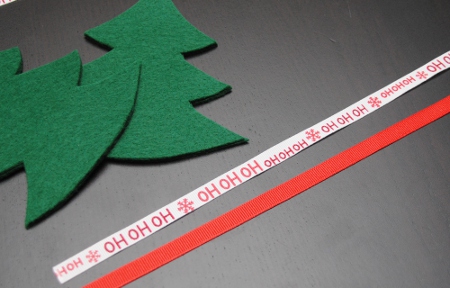 Form a loop with each ribbon and tuck the raw edges about 1/2″ down from the top of the tree, between the two layers. Pin in place.
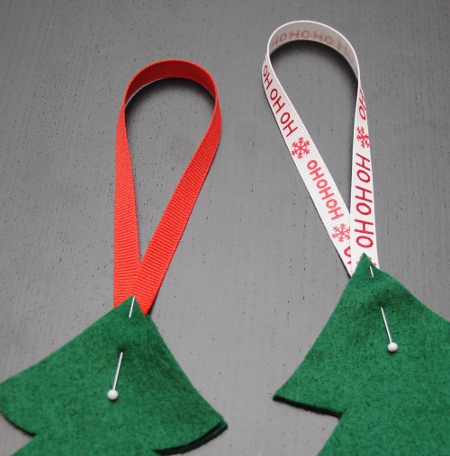 Stitch around each tree 1/4″ from the raw edges. Be careful to sew the ribbon hanger in well.
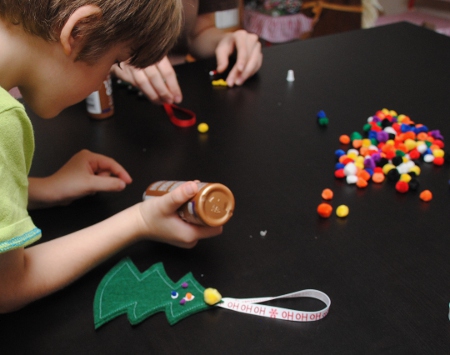
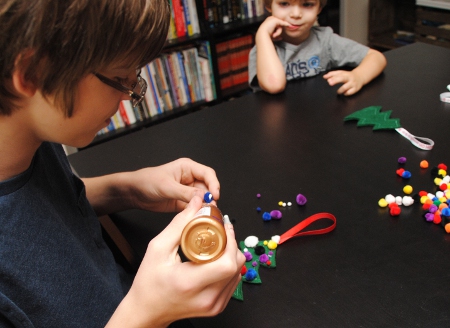
 Call in your little ones to decorate!

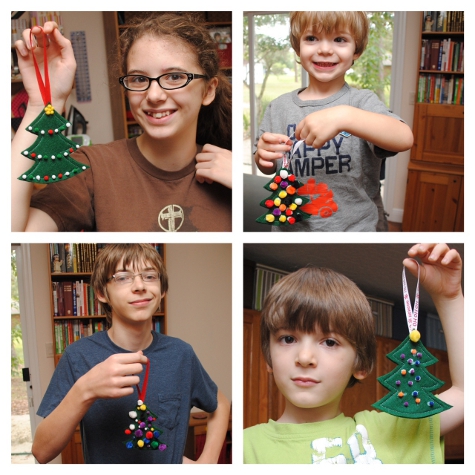
 Enjoy your new ornaments!


1 thought on “Felt Trees with Pompom Ornaments 12 Days of Handmade Christmas Projects: Day 4”