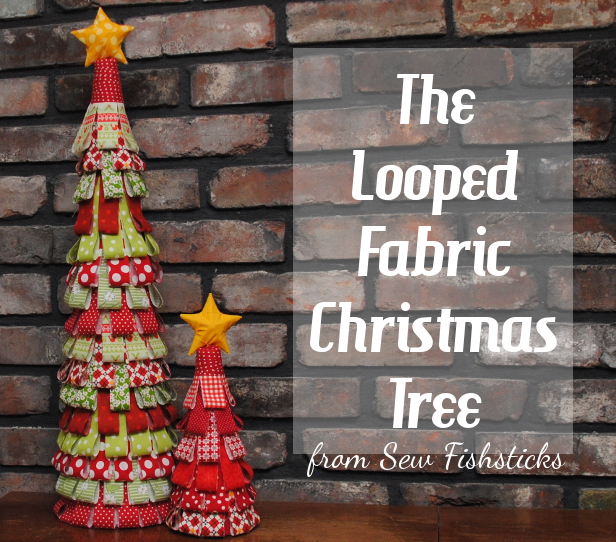
 Have you ever run across something in a store, picked it up and turned it over and thought that you could surely make it yourself? I know most of you are crafty people, so it probably happens to you often, right? This project was the result of one of those moments for me! The tree that I saw in the store was made with burlap, and while I realize that many of you probably love burlap, I’m just not a big fan. I figured I could make it work with cotton quilting fabric, though, so I headed home where I knew I had a giant styrofoam cone in the garage. (I think I actually had plans to turn it into a tree of some sort a few years ago.) I went right to work, and I adore the result enough that I thought I would share it with you!
Like yesterday’s project, this one uses fabric scraps, and it requires no sewing! The smaller the tree, the faster it is to put together. The one in this sample is 9″ tall, and it took me almost no time to finish it. Here’s what you’ll need to get started:
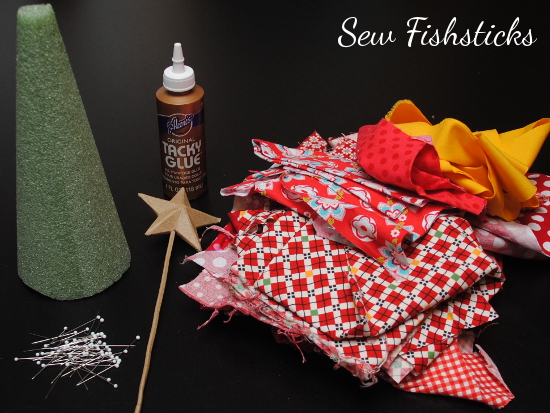
Styrofoam cone (white or green), at least 9″ tall. My larger one is 24″ tall.
Tacky glue
3″ paper mache star wand – I purchased mine at Joann’s, but they don’t seem to be on their website. You can also find them in packs of six here, and sold individually here.
Fabric scraps
Straight pins
Measure the circumference of the bottom edge of the cone.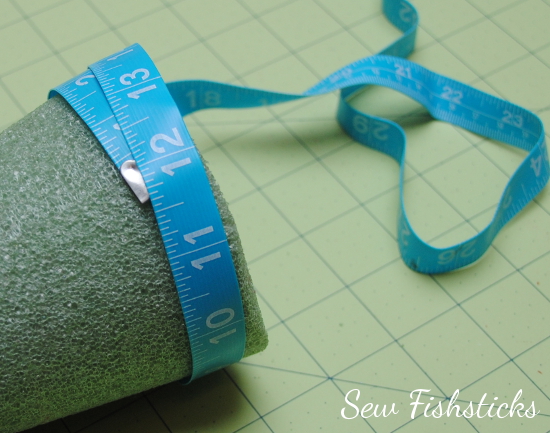 Cut a strip of fabric in a solid color to hide the bottom edge of the cone. I’m using red for this one, but I used green for the taller tree. Cut the strip 1″ longer than the measurement you just found by 2 1/2″ wide for a smaller cone (12″ or shorter), 4″ for a taller cone (taller than 12″).
 Wrap the fabric strip around the bottom edge of the cone, overlapping the edges at an angle so that the top edge of the fabric is snug against the curve. The fabric will overlap the bottom of the cone at the overlap. Pin the strip in place.
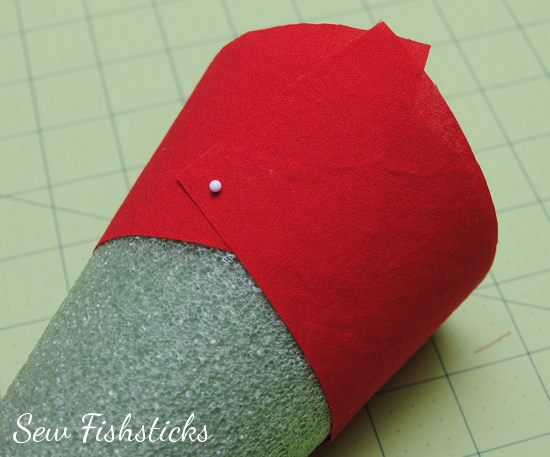 Trim the excess away so that the the bottom edge of the fabric is flush with the bottom edge of the cone.
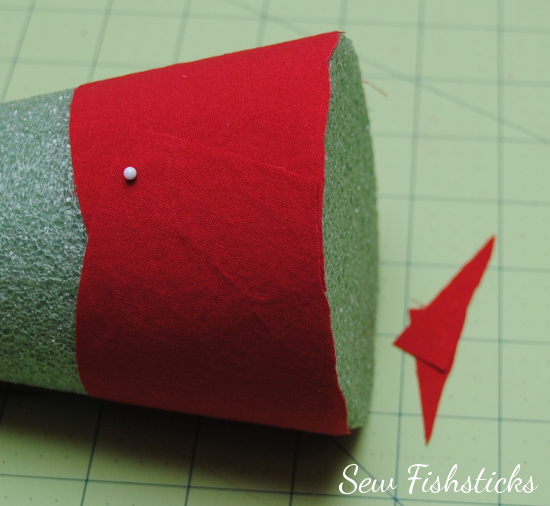 Measure the circumference of the cone just above the strip you just pinned.
 Cut your first loop piece 1″ longer than the circumference measurement you just found by 6″ wide for a smaller cone, 10″ for a taller one.
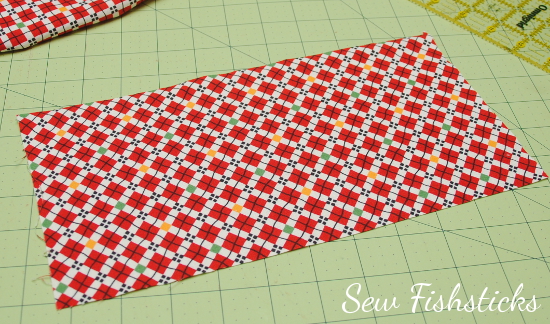 Dab glue along the back side of one long edge.
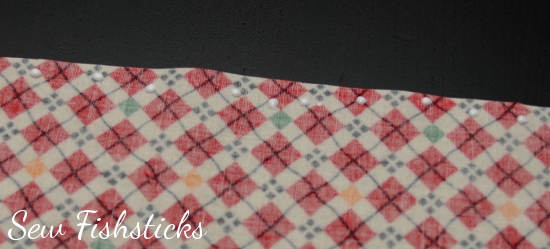 Fold the opposite long edge up and glue the long edges with the wrong sides of the fabric facing. (Don’t press the folded edge.)
 Use a ruler and rotary cutter or scissors to cut from the folded edge up 1 1/2″ for a smaller cone, 2″ for a taller one, every 1″. (You may end up with a narrower or wider strip at the end. This won’t matter since the ends will overlap.)
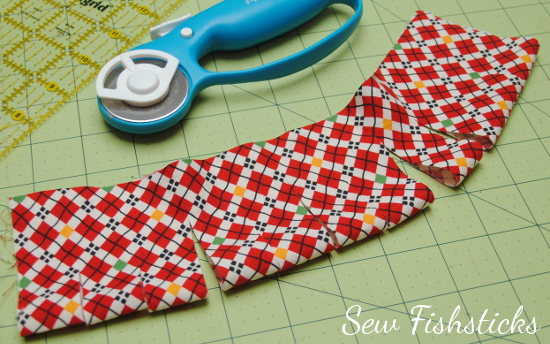 Wrap this first piece around the bottom edge of the cone, over the solid strip. Align the bottom of the loops with the bottom of the cone.
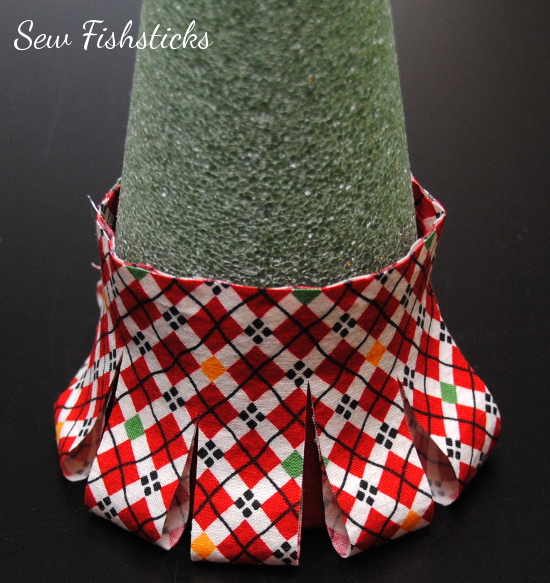 Overlap the edges, keeping the loops straight all the way around. The top edge of the fabric won’t be flat against the cone, but it will be covered by the next layer.
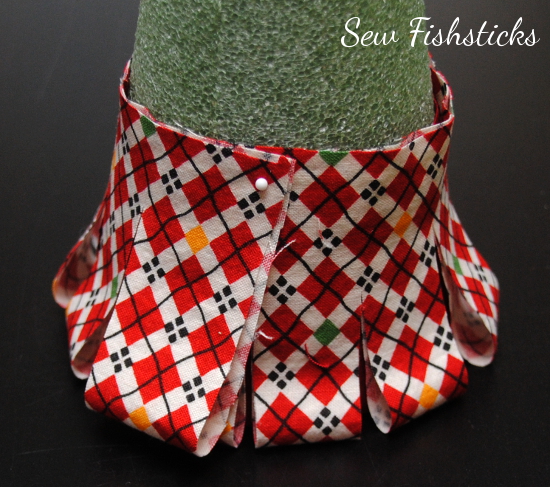 Follow these steps to make and attach the remaining sets of fabric loops. Measure first, cut your fabric, fold and glue the edges, cut the loops, wrap the fabric and pin it in place. Overlap each set of loops as much as you like. Staggering the loops above with the loops below will give your finished tree a fuller look.
 Cut a strip or two of fabric on the bias for the top of the tree. (Cutting the fabric on the bias will allow it to stretch neatly around the top of the tree. If you’re not sure how to cut on the bias, refer to yesterday’s tutorial.)
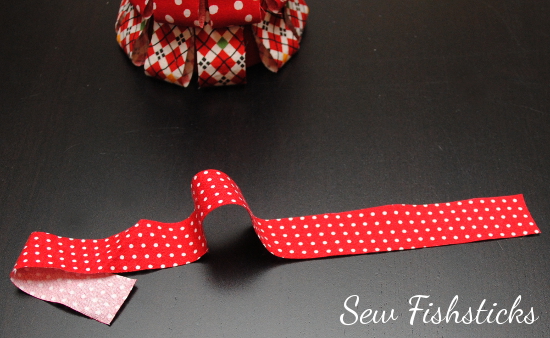 Place bit of glue on the wrong side of one end of the strip.
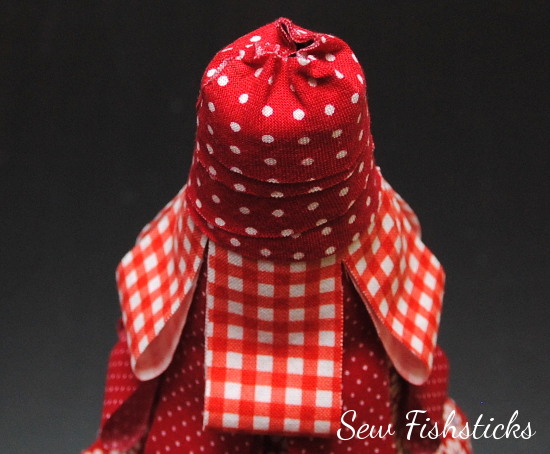
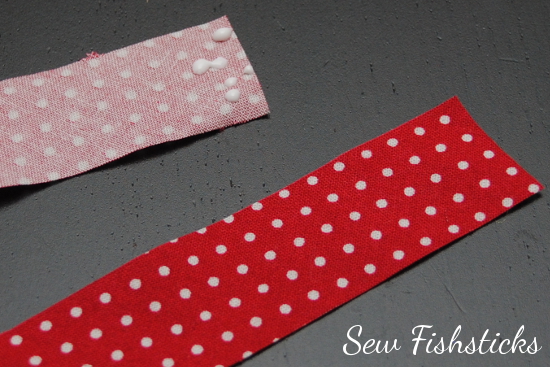 Glue the end of the strip to the cone and wrap it around the top of the cone until it’s wrapped about 1/2″ above the top edge.
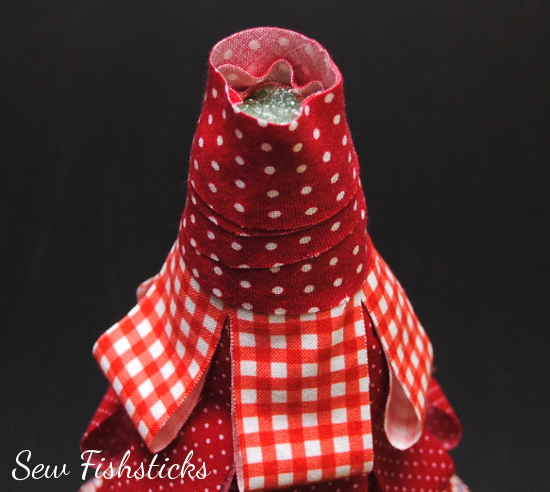 Dab glue on the inside edge of the extra fabric and fold it in over the top so that the top of the cone is covered, but make sure that there is room to insert the star when it’s completed.
 To make the star, clip the stick part of the wand so that it’s just a few inches long. Cut the fabric that you’ll wrap it with on the bias.
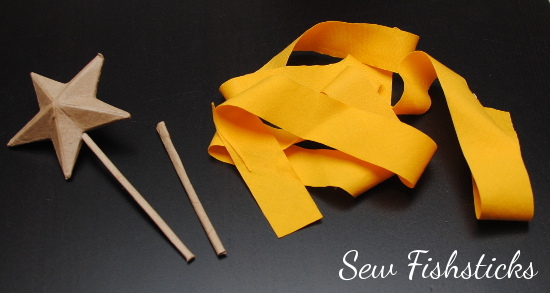 Glue the beginning edge of the fabric to the back of the star and wrap the center first.
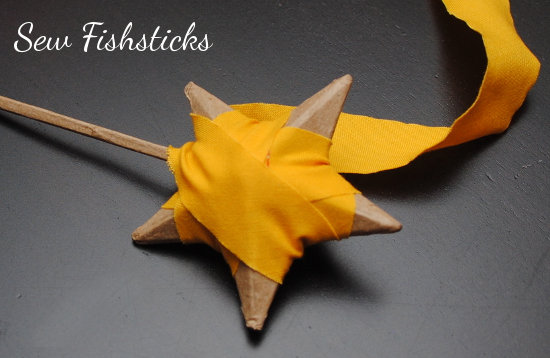 Wrap the first point of the star.
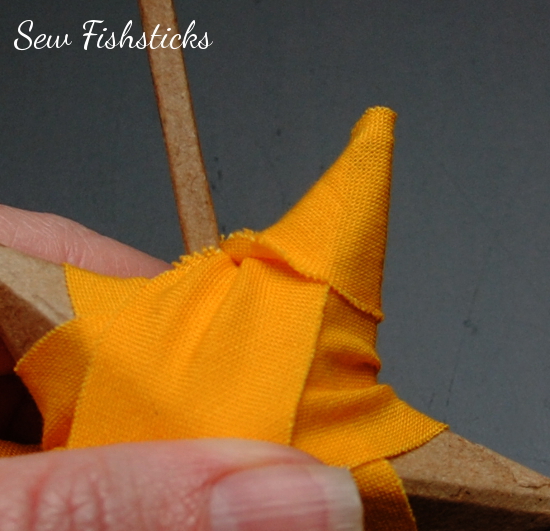 Pull the fabric strip across to the opposite point and wrap it next.
 Continue across to the next furthest point on the star until all the points are wrapped. Glue the fabric end to the back of the star.
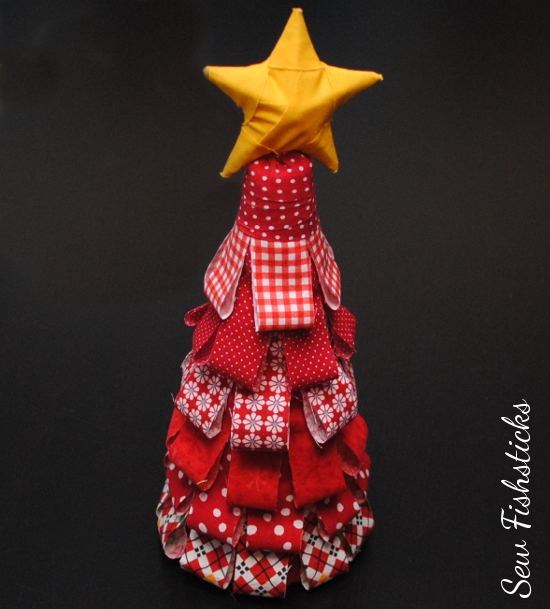
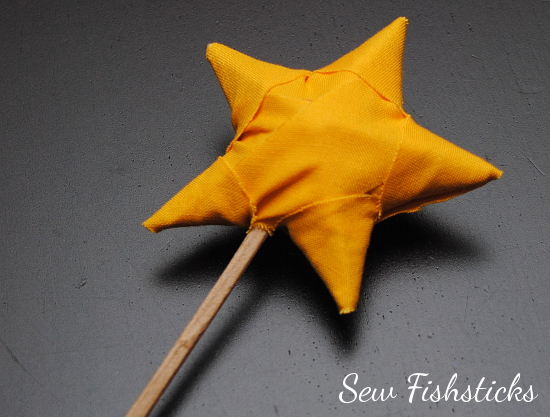 Slide the star into the top of the tree.
 Put your finished tree on display!


I am going to try this as soon as I find a large cone.
Is it okay to use paper mache christmas trees, and mine are 24″ tall.
Then I was going to use hot glue gun to glue the material to the tree.
Then I ordered Christmas stars to glue on the top of the tree.